
03.29.2022 - ?.?.2022 (Week 1 - Week 4)
Devina Angeline Wiratama / 0350824
Interactive Design / Bachelor of Design (Hons) in Creative Media
Lectures and Exercises

Fig. 1.3 / Bullets, Week 2 (04.05.2022)
Nested
Jump link
Lectures
W1 - The web and how it works
Week 1 / 03.29.2022
In our first week, we only have an introduction and a short explanation
about MIB. Mr Shamsul brief us about our exercises and projects.
This week, we learnt about the meaning of the web in a short explanation.
Next because there is a problem in the class, so we will not do the activities group but we will do it as an individual. We need to see websites from https://www.awwwards.com/; https://www.webbyawards.com/; and be web critics. We need to choose 3 good and 3 bad websites and explain the reasons. Here is my task.
<iframe src="https://drive.google.com/file/d/1jaoEMc7vZ3M6ULl6zL9ThUOz292xhk0T/preview" width="640" height="480" allow="autoplay"></iframe>

Fig. 1.2 / Numbers, Week 2 (04.05.2022)
Bullets
<iframe src="https://drive.google.com/file/d/1kuvPQR1uRF14Binb-lwj-oeQw1HDD3Kk/preview" width="640" height="480" allow="autoplay"></iframe>
This week, we learnt about the meaning of the web in a short explanation.
<iframe src="https://drive.google.com/file/d/1qppzlDK5ueY_xouQ0sFyYohQ8wrvaQQn/preview" width="640" height="480" allow="autoplay"></iframe>
Exercise
Next because there is a problem in the class, so we will not do the activities group but we will do it as an individual. We need to see websites from https://www.awwwards.com/; https://www.webbyawards.com/; and be web critics. We need to choose 3 good and 3 bad websites and explain the reasons. Here is my task.
<iframe src="https://docs.google.com/spreadsheets/d/e/2PACX-1vTLi_KNTH47oYHavtbpD351CxomaHgtXadtcWVEKYmzjYjX4ZL63USrmT4zOMIN1w/pubhtml?widget=true&headers=false"></iframe>
Lectures
W2 - Web Design and MediaWeek 2 / 04.05.2022Mr Shamsul tell us more about the web.
<iframe src="https://drive.google.com/file/d/1jaoEMc7vZ3M6ULl6zL9ThUOz292xhk0T/preview" width="640" height="480" allow="autoplay"></iframe>
Why Web Standards?
- To make the internet a better place, for both developers and visitors, it is important that both browsers and Web developers follow the Web standards.
- When developers follow the Web standards, the development is simplified, since it is easier for a developer to understand another's coding.
- Using Web standards will ensure that all browsers will display your Web site properly, without time-consuming rewrites
How the WebWorks
- Connect to the web via ISP, and the domain name or web address is typed in to visit the site. eg: www.google.com, www.bbc.co.uk
- The computer connects to the DNS servers.
- The unique number that the DNS server returns to your computer allows your browser to contact the webserver that hosts the website you requested.
- The web server then sends the page you requested back to your web browser.
HTML Describes the Structure of Pages
- The HTML code is made up of characters that live inside angled brackets <>. These are called HTML elements
- Elements are usually made up of two tags: an opening tag and a closing tag
HTML Code
- Must be English-US, not British
- lowercase
- <> usually closed with </> (not all element)
- (space) : separate values
- Can use more than 1 attribute in 1 HTML
Basic format: <element> info </element>
Other format: <p attribute name="any element"> info </p>
Text Format: <element></element>
<b> : bold
<i> : italic
<u> : underline
<strike> : strike through
Headings

Fig. 1.1 / Headings, Week 2 (04.05.2022)
HTML has six levels of headings:
- <h1> main headings
- <h2> subheadings
- ...<h6>

Fig. 1.1 / Headings, Week 2 (04.05.2022)
Numbers
<ol> ordered list
<li> list item

Fig. 1.2 / Numbers, Week 2 (04.05.2022)
Bullets
<ul> unordered list
<li> list item

Fig. 1.3 / Bullets, Week 2 (04.05.2022)
Nested
Another list <ul> and <li>

Fig. 1.4 / Nested, Week 2 (04.05.2022)
Links
<a> links not specify
<a href> links specify

Fig. 1.5 / Links, Week 2 (04.05.2022)
Exercise
Instruction:
- Create a web document based on the content given.
Please follow exactly the format as in the document (Heading, Sub-Heading, Paragraph, list, including links). For a start, you need to create the document using Text Edit or Note Pad as shown in class. Remember to name the file as index.html and save the file in a folder name Exercise One. - After you have completed the task, you are required to upload the web document to a web hosting (Netlify). I will demonstrate on how to upload the file in class next week (Week 3).
<iframe src="https://drive.google.com/file/d/1CG2gmbbIZ0V8nmzBtda7Giex4DoFQnOh/preview" width="640" height="480" allow="autoplay"></iframe>
I used Astropad and started with filling the head, title, and body. After I finished all, I compared it with the example.


Fig. 1.6 - 1.7 / Progress, Week 2 (04.05.2022)
Here is my HTML Code Preview
<iframe src="https://drive.google.com/file/d/1qmIVfv0PbYRU9i-welgQsE5Qqa2OX5_A/preview" width="640" height="480" allow="autoplay"></iframe>
Lectures
W3 - Extra MarkupWeek 3 / 04.12.2022This week, we learn how to add images in HTML and Extra Markup (ID attributes, class attributes, Inline elements, and block elements).
<iframe src="https://drive.google.com/file/d/1MIUGtCEcIazF19Hf3YkpIQ4r2EEaso0-/preview" width="640" height="480" allow="autoplay"></iframe>
Image in HTML
<iframe src="https://drive.google.com/file/d/1MIUGtCEcIazF19Hf3YkpIQ4r2EEaso0-/preview" width="640" height="480" allow="autoplay"></iframe>
Image in HTML
- Image only: <img src=“...">
- With attribute: <img src=“..." alt="...">
- Specify the width and height: <img src=“..." alt="..." width="..." height="...">
- JPEG (Joint Photographic Expert Group)
Most common image format, highly compatible, small size, little loss of quality. - GIF (Graphics Interchange Format)
Excellent choice for logo, small size, not suitable for photos. - PNG (Portable Network Graphics)
Lossless compression, save the image over and over without losing any data, support a max of 265 colours, ability to be animated.
ID attribute
- Every HTML element can carry the ID attribute
- It is used to uniquely identify the element from other elements on the page
- It is important that no two elements have the same value for their ID attributes (otherwise the value is no longer unique)
- Giving an element a unique identity allows you to style it differently from any other instance of the same element on the page
- Eg: you might want to assign one paragraph within the page a different style from all of the other paragraphs
- ex:
<a href="#about">About</a>
<id="about"> as anchor
Class attribute
- Every HTML element can also carry a class attribute.
- Sometimes you will want a way to identify several elements as being different from the other elements on the page
- For example, you might have some paragraphs the that contain information that is more important than others and want to distinguish between these elements
- The class attribute on any element can share the same value or name
- ex:
<a class="col-lg-4">
Some elements will always appear to start on a new line in the browser window.
Ex: <h1>, <p>, <ul> and <li>
Inline elements
Next, Mr Shamsul teaches us how to upload our tasks in Netlify.
Some elements will always appear to continue on the same line as their neighbouring elements
Ex: <b>, <i>, <em>, <a> and <img>Next, Mr Shamsul teaches us how to upload our tasks in Netlify.

Fig. 2.1 / Netlify, Week 3 (04.12.2022)
Exercise
Mr Shamsul wanted us to put images in our website.
In Notepad.
In Notepad.

Fig. 2.2 / Notepad Image, Week 3 (04.12.2022)
In Dreamweaver
1. Window>Files

Fig. 2.3 / Dreamweaver Image 1, Week 3 (04.12.2022)
2. Insert>image

Fig. 2.4 / Dreamweaver Image 2, Week 3 (04.12.2022)
3. Window>Properties>Drag the image
From Properties, we also can add links, titles, etc in there.
Fig. 2.5 / Properties, Week 3 (04.12.2022)
How to save images from Photoshop.
Export>Save for Web (can adjust gif, jpeg, etc)

Fig. 2.6 / Save Web in PS, Week 3 (04.12.2022)
Next, Mr Shamsul wants us to put 6 images of each heading and put ID attributes. Here is the result.

Fig. 2.6 / Save Web in PS, Week 3 (04.12.2022)
Next, Mr Shamsul wants us to put 6 images of each heading and put ID attributes. Here is the result.

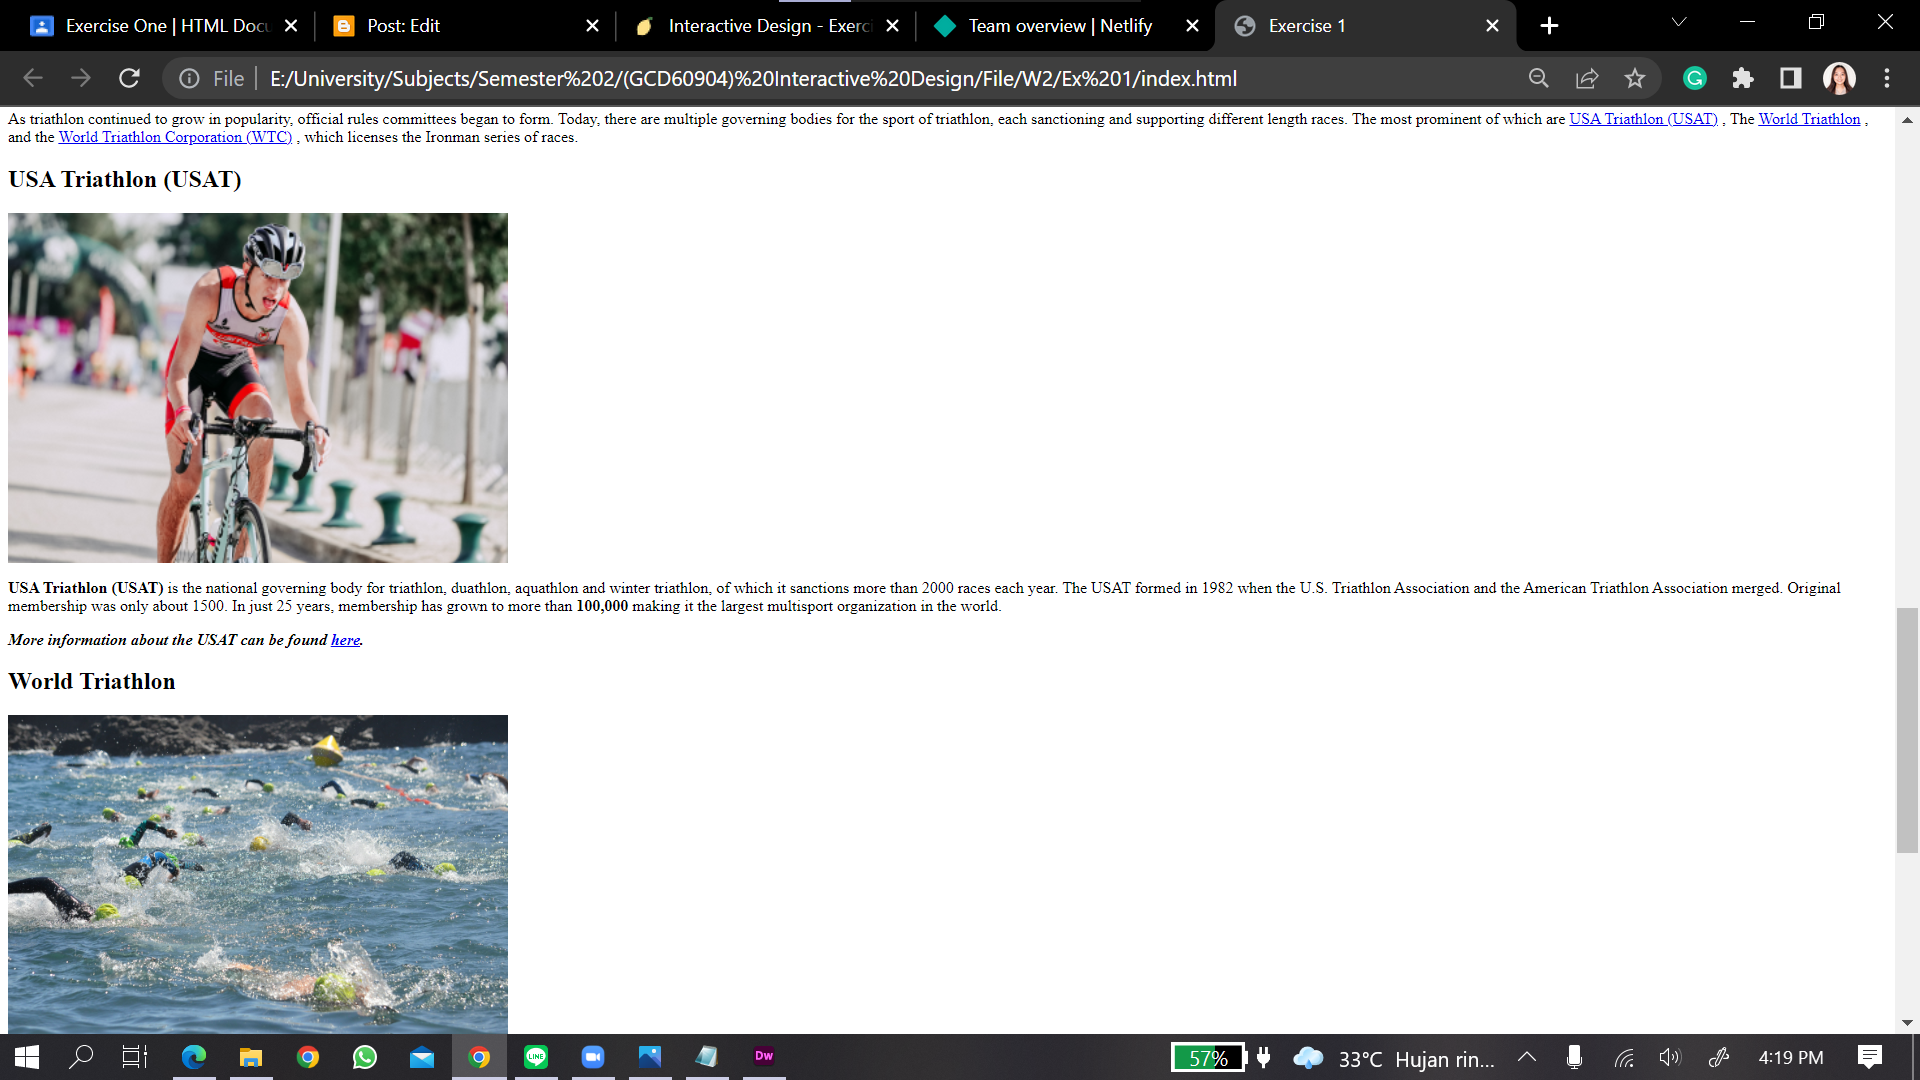


Fig. 2.7 - 2.11 / Add 6 Images, Week 3 (04.12.2022)
In addition, Mr Shamsul taught us how to add CSS scroll behaviour. This is still new, so it only works on chrome, google, not safari, etc.

Fig. 2.8 / CSS Scroll, Week 3 (04.12.2022)
Instruction:
I used Dreamweaver and started with filling the head, title, body, listed, and italic or bold text. - Download the content in the link. You are required to create a single Html page that contains the content given. You should also include images for required sections (use all the images provided). In each main section, you need to include an id attribute that will be later used as an anchor to be linked from the navigation (in the first part of the content).
- After completing the task, upload it to Netlify and submit the link in Google Classroom. Complete the task by next week (Week 4).

Fig. 2.9 / Dreamweaver, Week 3 (04.18.2022)
Then, I put the ID Attribute.

Fig. 2.10 / ID Attribute, Week 3 (04.18.2022)
After that, I tried to edit the CSS, the type font and change the colour.

Fig. 2.11 / CSS Font and Colour, Week 3 (04.18.2022)
Then I tried to see it first, is it ok or not.
Fig. 2.12 / Try#1, Week 3 (04.18.2022)
Last but not least, I put the images.

Fig. 2.13 / Put Images, Week 3 (04.18.2022)
Then, I try to see it again and inspect the website.
Fig. 2.14 / Try#2, Week 3 (04.18.2022)

Fig. 2.15 / Compare, Week 3 (04.18.2022)
Last, I upload it on Netlify.
Lectures
W4 - Introduce CSSWeek 4 / 04.19.2022It's Public Holiday!
UI vs UX
<iframe src="https://drive.google.com/file/d/19jc-SCPi332ECXFAmgzOuOfEK8buQg3-/preview" width="640" height="480" allow="autoplay"></iframe>
abcde
<iframe src="https://drive.google.com/file/d/1CTOzyJBq-XwSbPGgsavE-f5YvDodjp9r/preview" width="640" height="480" allow="autoplay"></iframe>
UX Designer (User Experience)
: Focus on the structure and layout of content, navigation and how users interact with them. The types of deliverables they produce include sitemaps, user flows, prototypes and wireframes, which are more focused on the underlying structure and purpose of the software. UX would say that button should be physically pressed down when you click it.
vs
UI Designer (User Interface)
: Focus on the way the functionality is displayed and the fine detail of how users interact with the interface, UI designer works on the visual comps and functioning front-end code. UI Design focuses on anticipating what users might need to do and ensuring that the interface has elements that are easy to access, understand, and use to facilitate those actions. UI brings together concepts from interaction design, visual design, and information architecture (IA). UI would be a series of buttons and how they look.
Elements for interface include (However they are not limited to):
- Input Controls: buttons, text fields, checkboxes, radio buttons, dropdown lists, list boxes, toggles, date field
- Navigational Components: breadcrumb, slider, search field, pagination, slider, tags, icons
- Informational Components: tooltips, icons, progress bar, notifications, message boxes, modal windows
- Containers: accordion
Golden Rules of Interface Design
There are five usability attributes that UI designers should pay attention to:
- Ease of Learning
- Efficiency Use
- Memorability
- Minimize Errors
- Satisfy the User
Lectures
W5 - Font in CSSWeek 5 / 04.26.2022This week, we had a lecture on CSS box models. There are lots that can be done, such as: giving effect, dimensions, borders, and show and hide boxes.
<iframe src="https://drive.google.com/file/d/1tt-v06P7NSeF-kRaYABNM7f0FfN61ulr/preview" width="640" height="480" allow="autoplay"></iframe>
Typeface from google font.

Fig. 4.1 / Copy-paste from Google Font, Week 5 (04.26.2022)
CSS on the title, paragraph, and specific word.

Fig. 4.2 / CSS title, paragraph, and specific word, Week 5 (04.26.2022)

Background using colour and image.


Fig. 4.2 / CSS title, paragraph, and specific word, Week 5 (04.26.2022)
CSS on the jump link

Fig. 4.3 / CSS Jump link, Week 5 (04.26.2022)
Background using colour and image.

Fig. 4.4 / Background, Week 5 (04.26.2022)
Comparison Short-hand and normal.

Fig. 4.5 / Comparison of short-hand and normal, Week 5 (04.26.2022)
Shadow

Fig. 4.6 / CSS Shadow, Week 5 (04.26.2022)
Glow
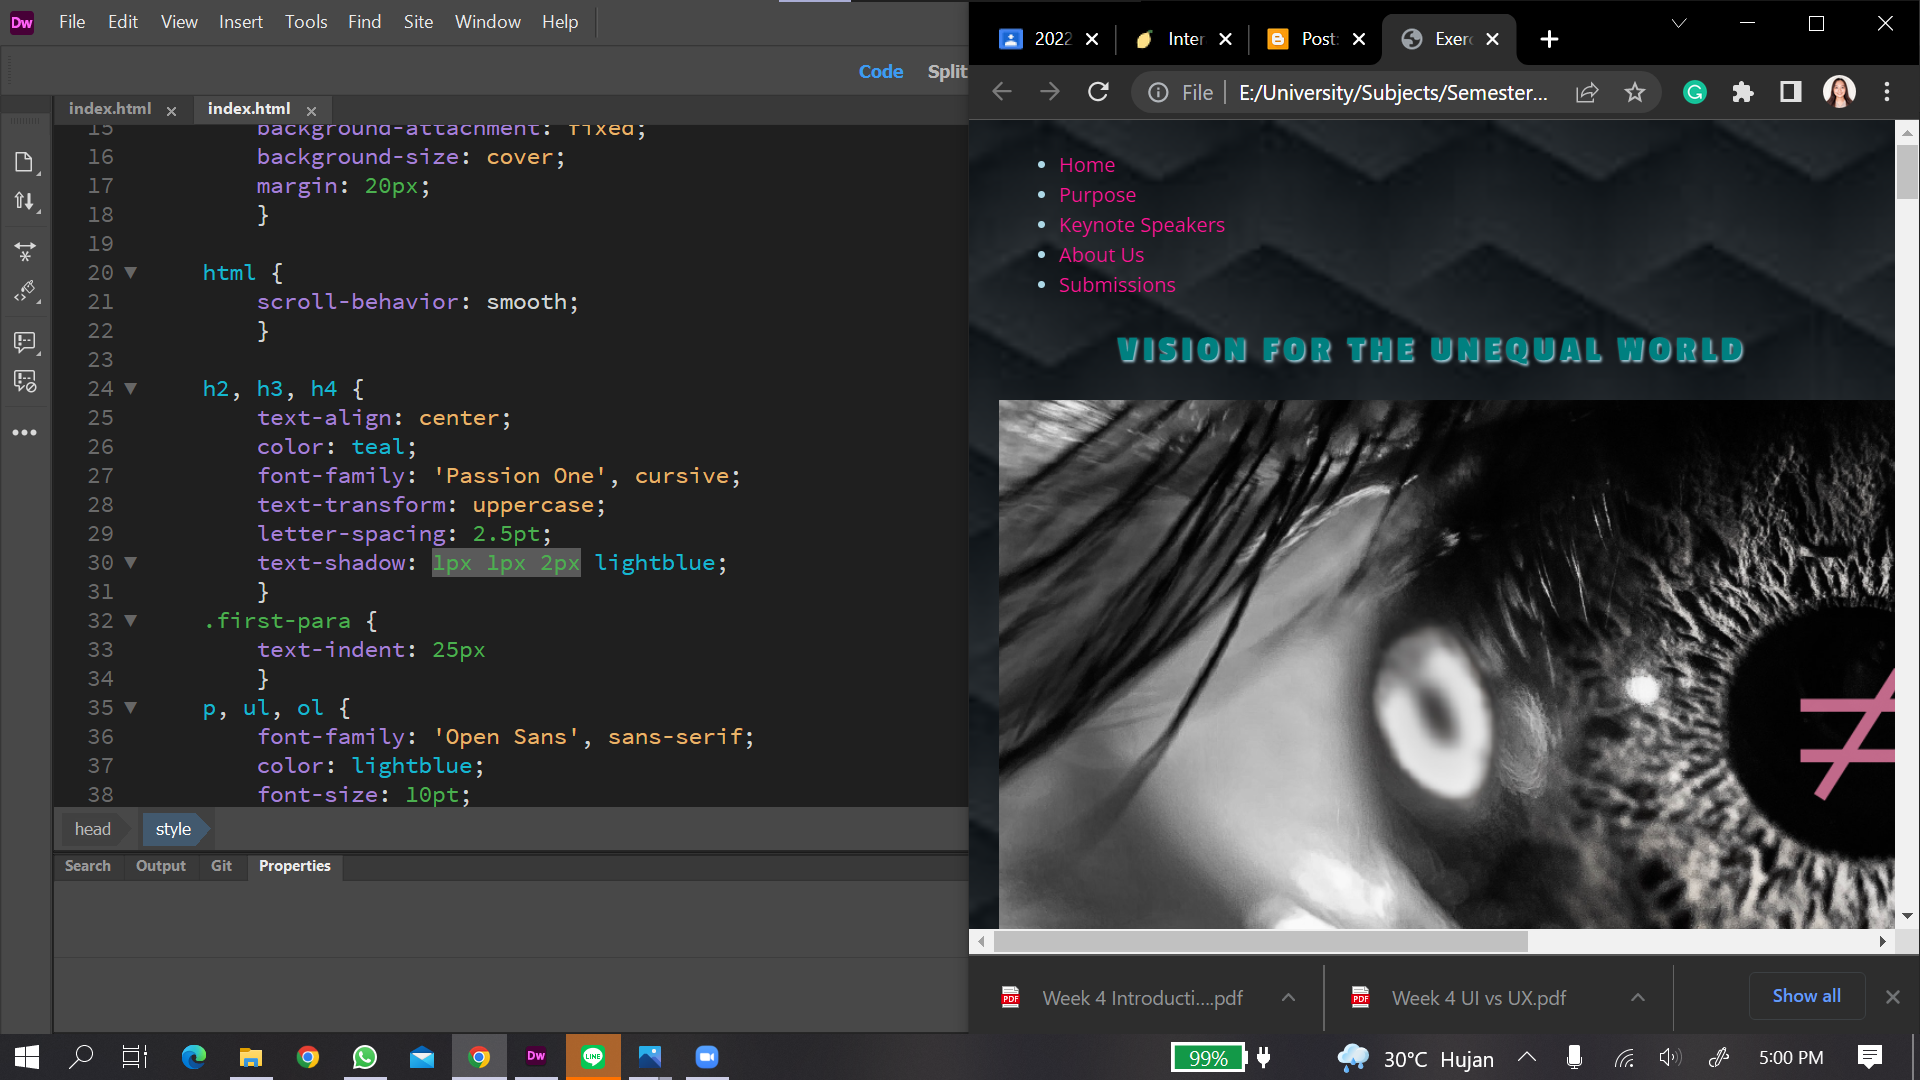
Fig. 4.7 / CSS Glow, Week 5 (04.26.2022)
CSS Boxes Model

Fig. 4.8 / CSS Boxes Model, Week 5 (04.26.2022)
Lectures
W6Week 6 / 05.03.2022It's Public Holiday!
Lectures
W7 - Web Layout TutorialWeek 7 / 05.10.2022
This week, we learn about layout exercises from the previous pdf files.


Fig. 4.9 - 4.11 / HTML and CSS, Week 7 (05.09.2022)


Fig. 4.11 - 4.12 / Result, Week 7 (05.09.2022)
Exercise
Mr Shamsul gives us a layout exercise. Here is the content.


Fig. 4.13 - 4.14 / Content, Week 7 (05.13.2022)

Fig. 4.15 / Container, Week 7 (05.13.2022)

Fig. 4.16 / Column, Week 7 (05.13.2022)

Fig. 4.17 / Footer, Week 7 (05.13.2022)

Fig. 4.18 / Inspect, Week 7 (05.13.2022)
Font:
font-family: 'Libre Franklin', sans-serif;
font-family: 'Prompt', sans-serif;
Comments
Post a Comment